New goodies bought.

Started plumbing the reservoir.

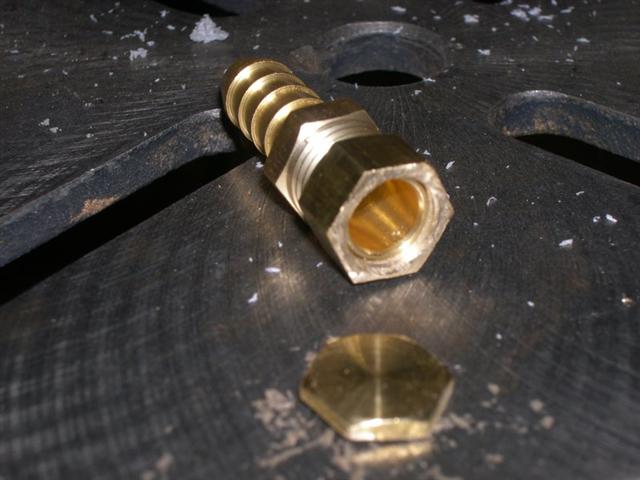
Fitting is a pipe thread, so no nut will fit (pipe threads get larger diameter as they get to the end). A cap was all I could get.


Cut the cap part off.


Now I have a nut, but it'll only go on so far.


Used o-rings to get the depth right.

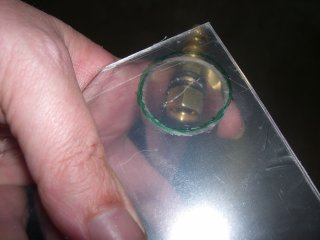
Traced the outline. Since the protective film is still on the acetate, the marks will peel off. I then cut out the rough shape on the band saw.
All glued up. The flash makes the bottom look white, but it still looks clear.

After it sets up, I'll smooth the edges down.

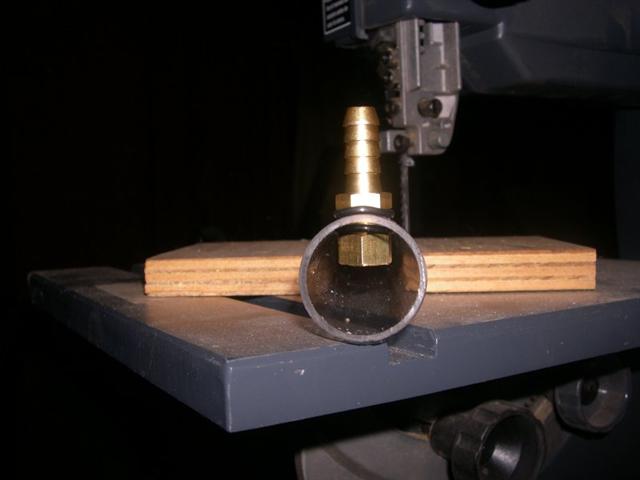
To put the top barb in place, it had to be done with the tube inside the tower. I couldn't reach down the tube, so I cut the tube right above the hole for the top barb. After installation, I had to piece the tube back together to bring it up to the top for the filler port. To make sure I got a seal, I created a ring to be between the joint of the twp tube pieces. Here, I took a section of tube and marked the acrylic.

The mark to cut by.

Here is the rough cut piece while the glue us drying. Sorry, no photo from after I trimmed the inner and outer edges.


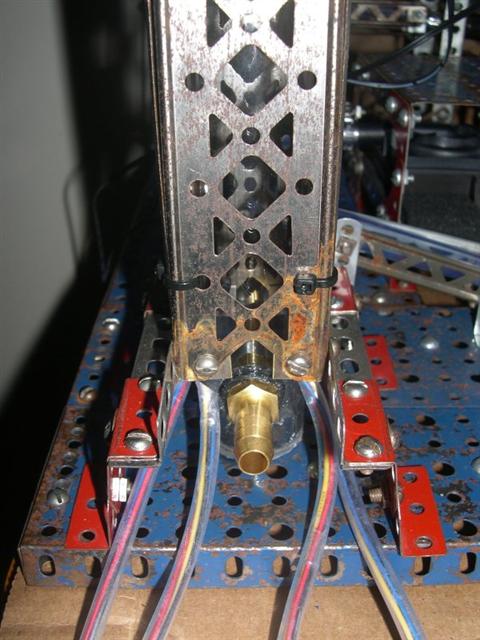
With the tower just set on the base, turned sideways for photos. The wires coming out are for the light sticks. They will actually be going out the other side.


A closer shot.

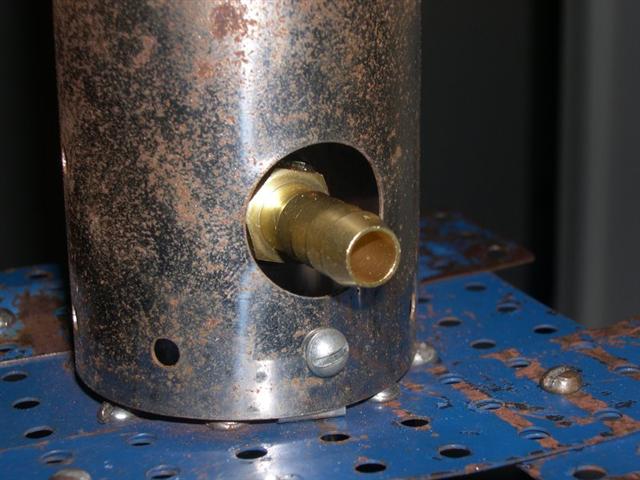
The top barb.

Here you can see the tube extension peeking out the top. I'll probably use a Danger Den Fill Port for this. The red Erector top will cover this.
