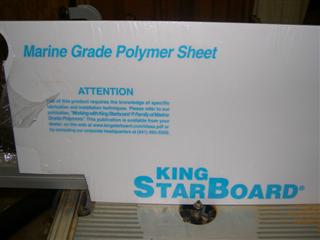
This time building shims for the barb mounting. Start with StarBoard. Normally used for marine applications. Don't have a really good picture of it, but it was used to make the top cap of the back of my boat, the 3/4" think surface that was somewhat poorly installed here in this photo . You can cut, route, drill, tap, etc. just like wood. Doesn't melt nearly as easy as most plastics, so even the router doesn't met it. A dull hole saw will, however.
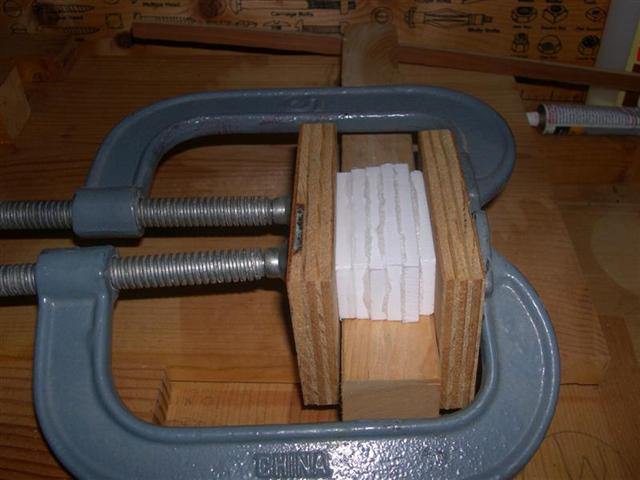
I cut some small pieces and glued them up to see how it will work. I'm going to use a RotoZip bit in the router and cut a curve the same as the tubing to make a mounting plate. One piece to the inside curve and one for the outside. I'll let it setup overnight, then true up the sides on the bandsaw and try it on the router table. After setting up, they just broke apart. Found on their website that it takes a special epoxy to glue this stuff, so I tried something different.

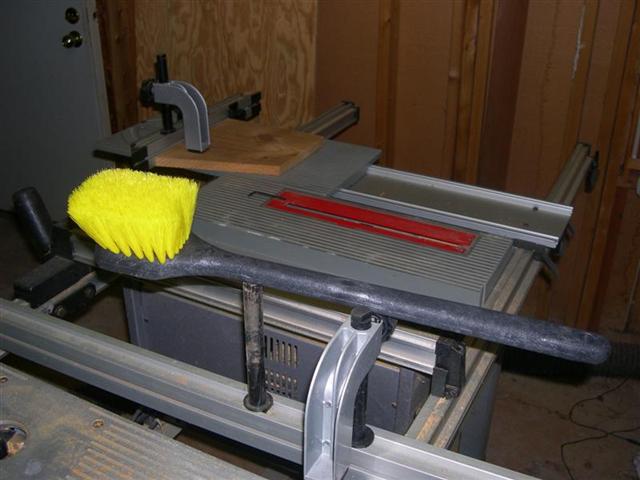
Started with this brush.

Cut a chunk out of it on the bandsaw.

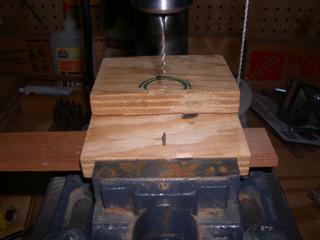
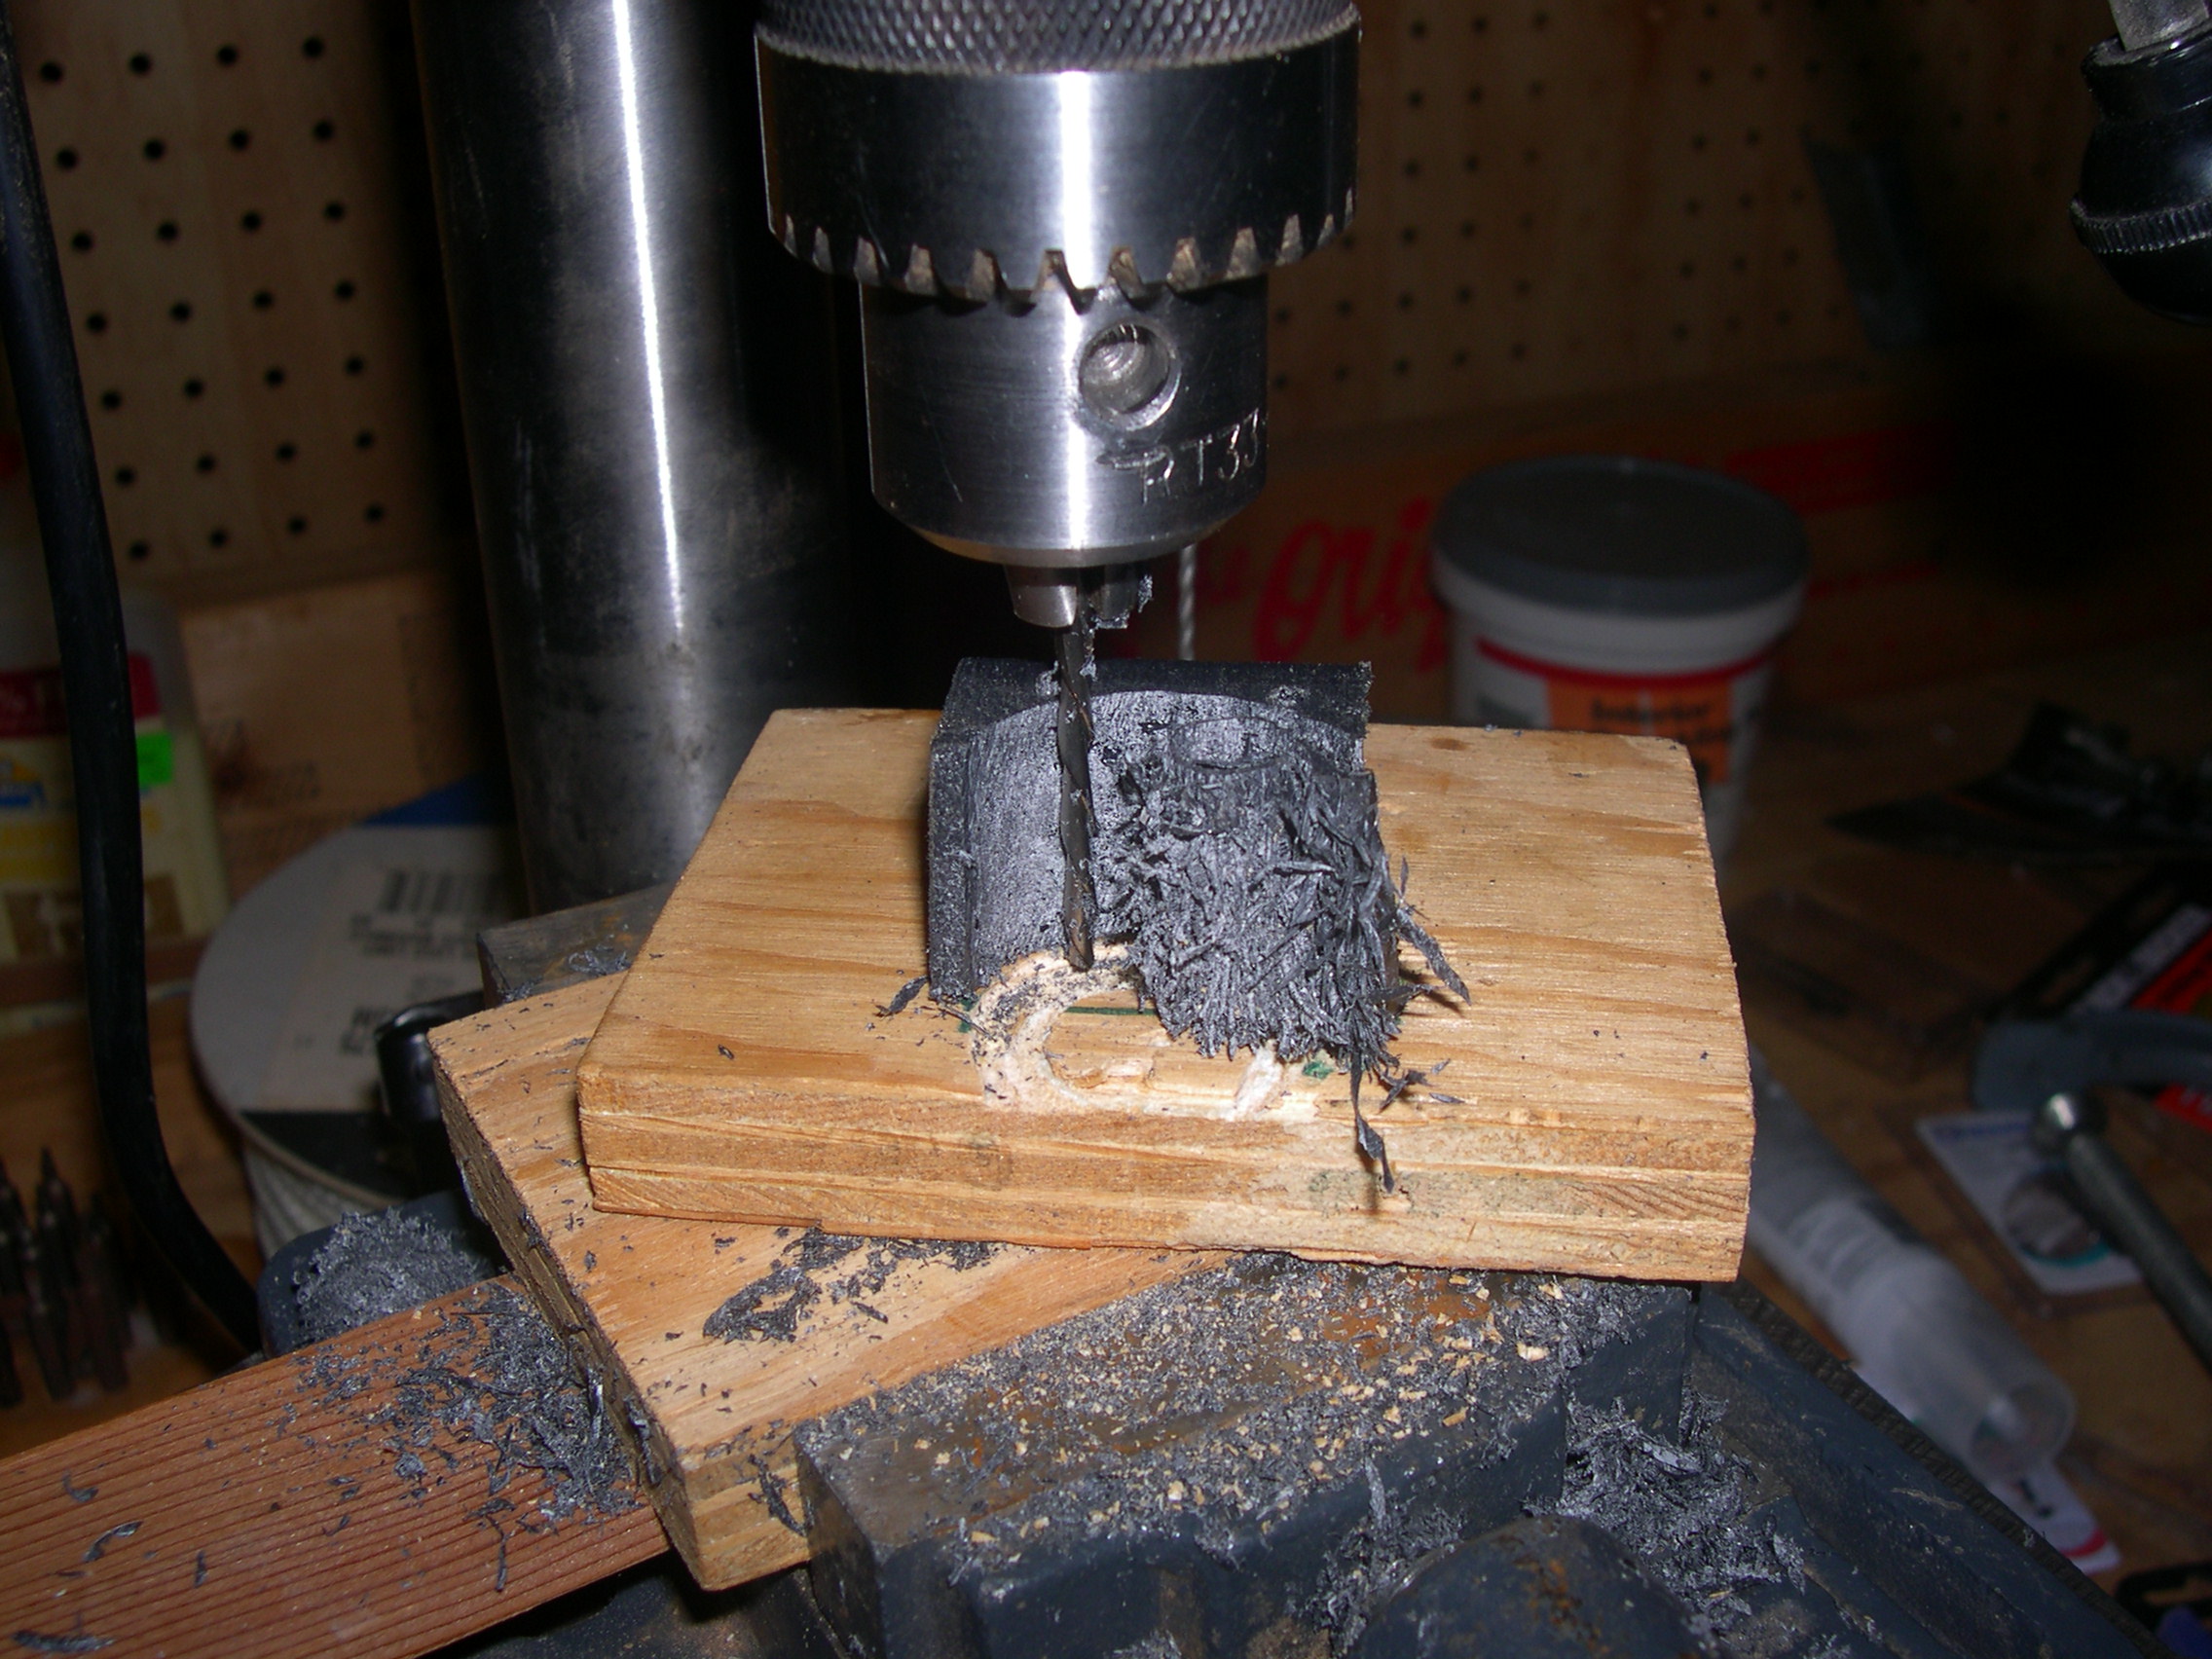
On the drill press, clamped a piece of wood with a nail for a pivot point.
Put a base on it to swivel around.

Screwed the block of plastic on it and cut it with a RotoZip bit.


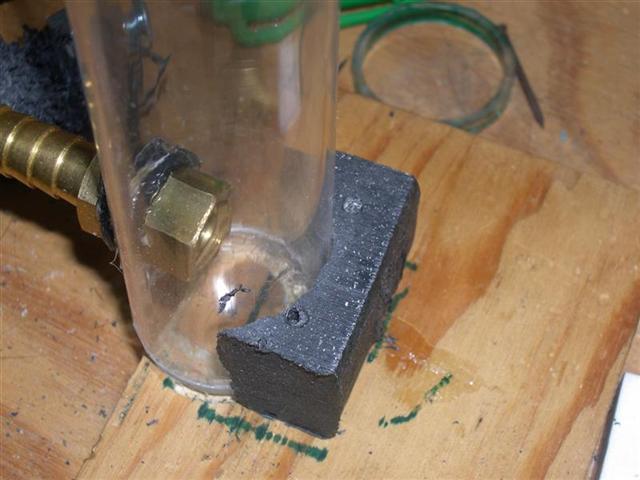
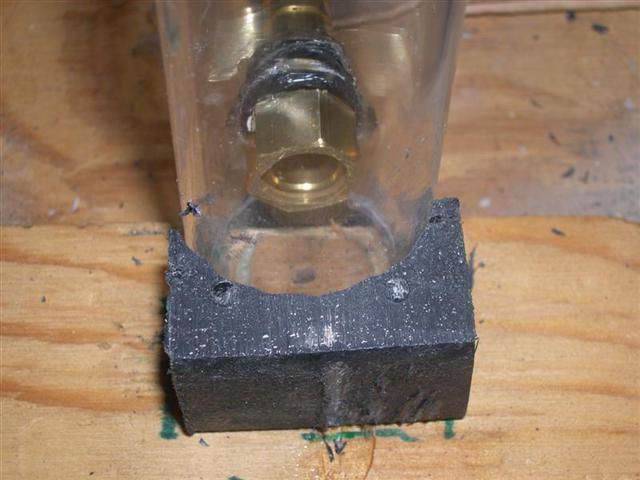
Fits the outside of the tube just fine.


Make an inner one and the trim them down a bit.

Now there is a flat surface inside and out for mounting the barb. But guess what. It's too thick. I'm thinking this won't work. Back to the drawing board.

OK, I tried all the fancy methods using jigs, etc. Here's what I made by hand with the dremel. Not perfect, but it fits the curve rather well and will spread the load out if I need to remove the tubing.

Closeup of the hand made washer.

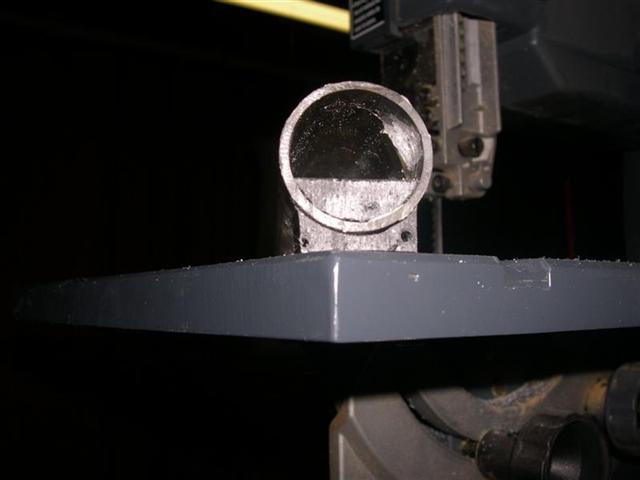
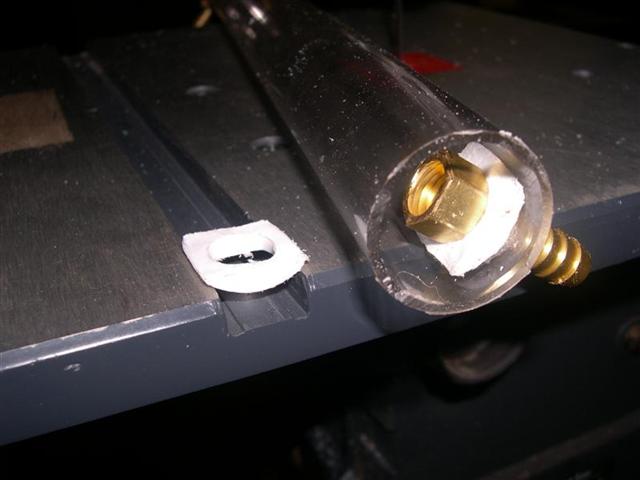
Focus moves to the one already mounted.

And another angle.

I described somehwere else that I can't put the tube in place in the tower without cutting it. Where I have to glue them back together is inside the tank on top of the tower. To make sure the joint is strong, I added a flange to the ends where they will join. Here is the short piece with the flange on the bottom. A saw blade on top for pressure while the sealant dries.

For the tall tower, a specially aquired weight was employed.

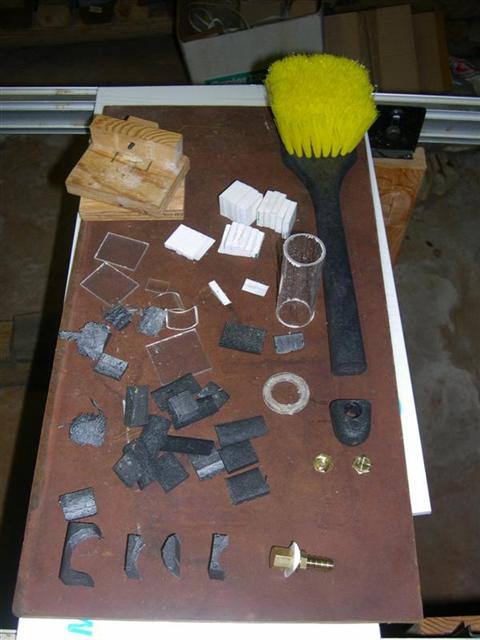
Here's some of the aftermath of trying to produce those two curved washers (one of which you see mounted in the lower right corner of the picture). The broken bits of tubing was where I was trying to make a sleave to join the two sections of tubing. I cut a slice out of the tube so I could bend it to fit inside the original tube. I figured it would break before bending enough to fit. I was right. So, Joe, I used about 100 square inches of your StarBoard to make two washers totaling less than 2 square inches. And then only used one in the reservoir.
