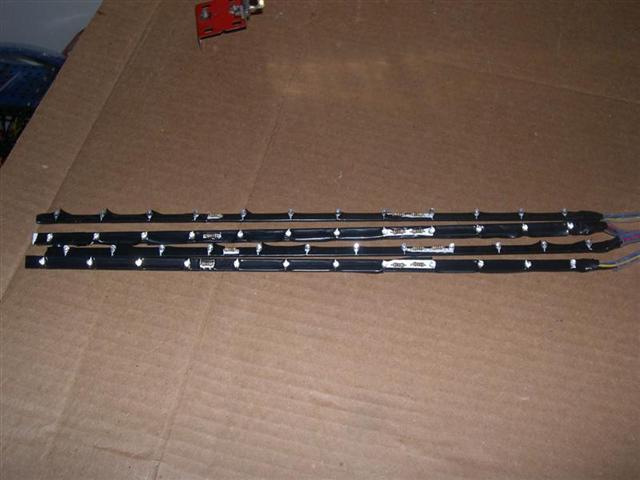
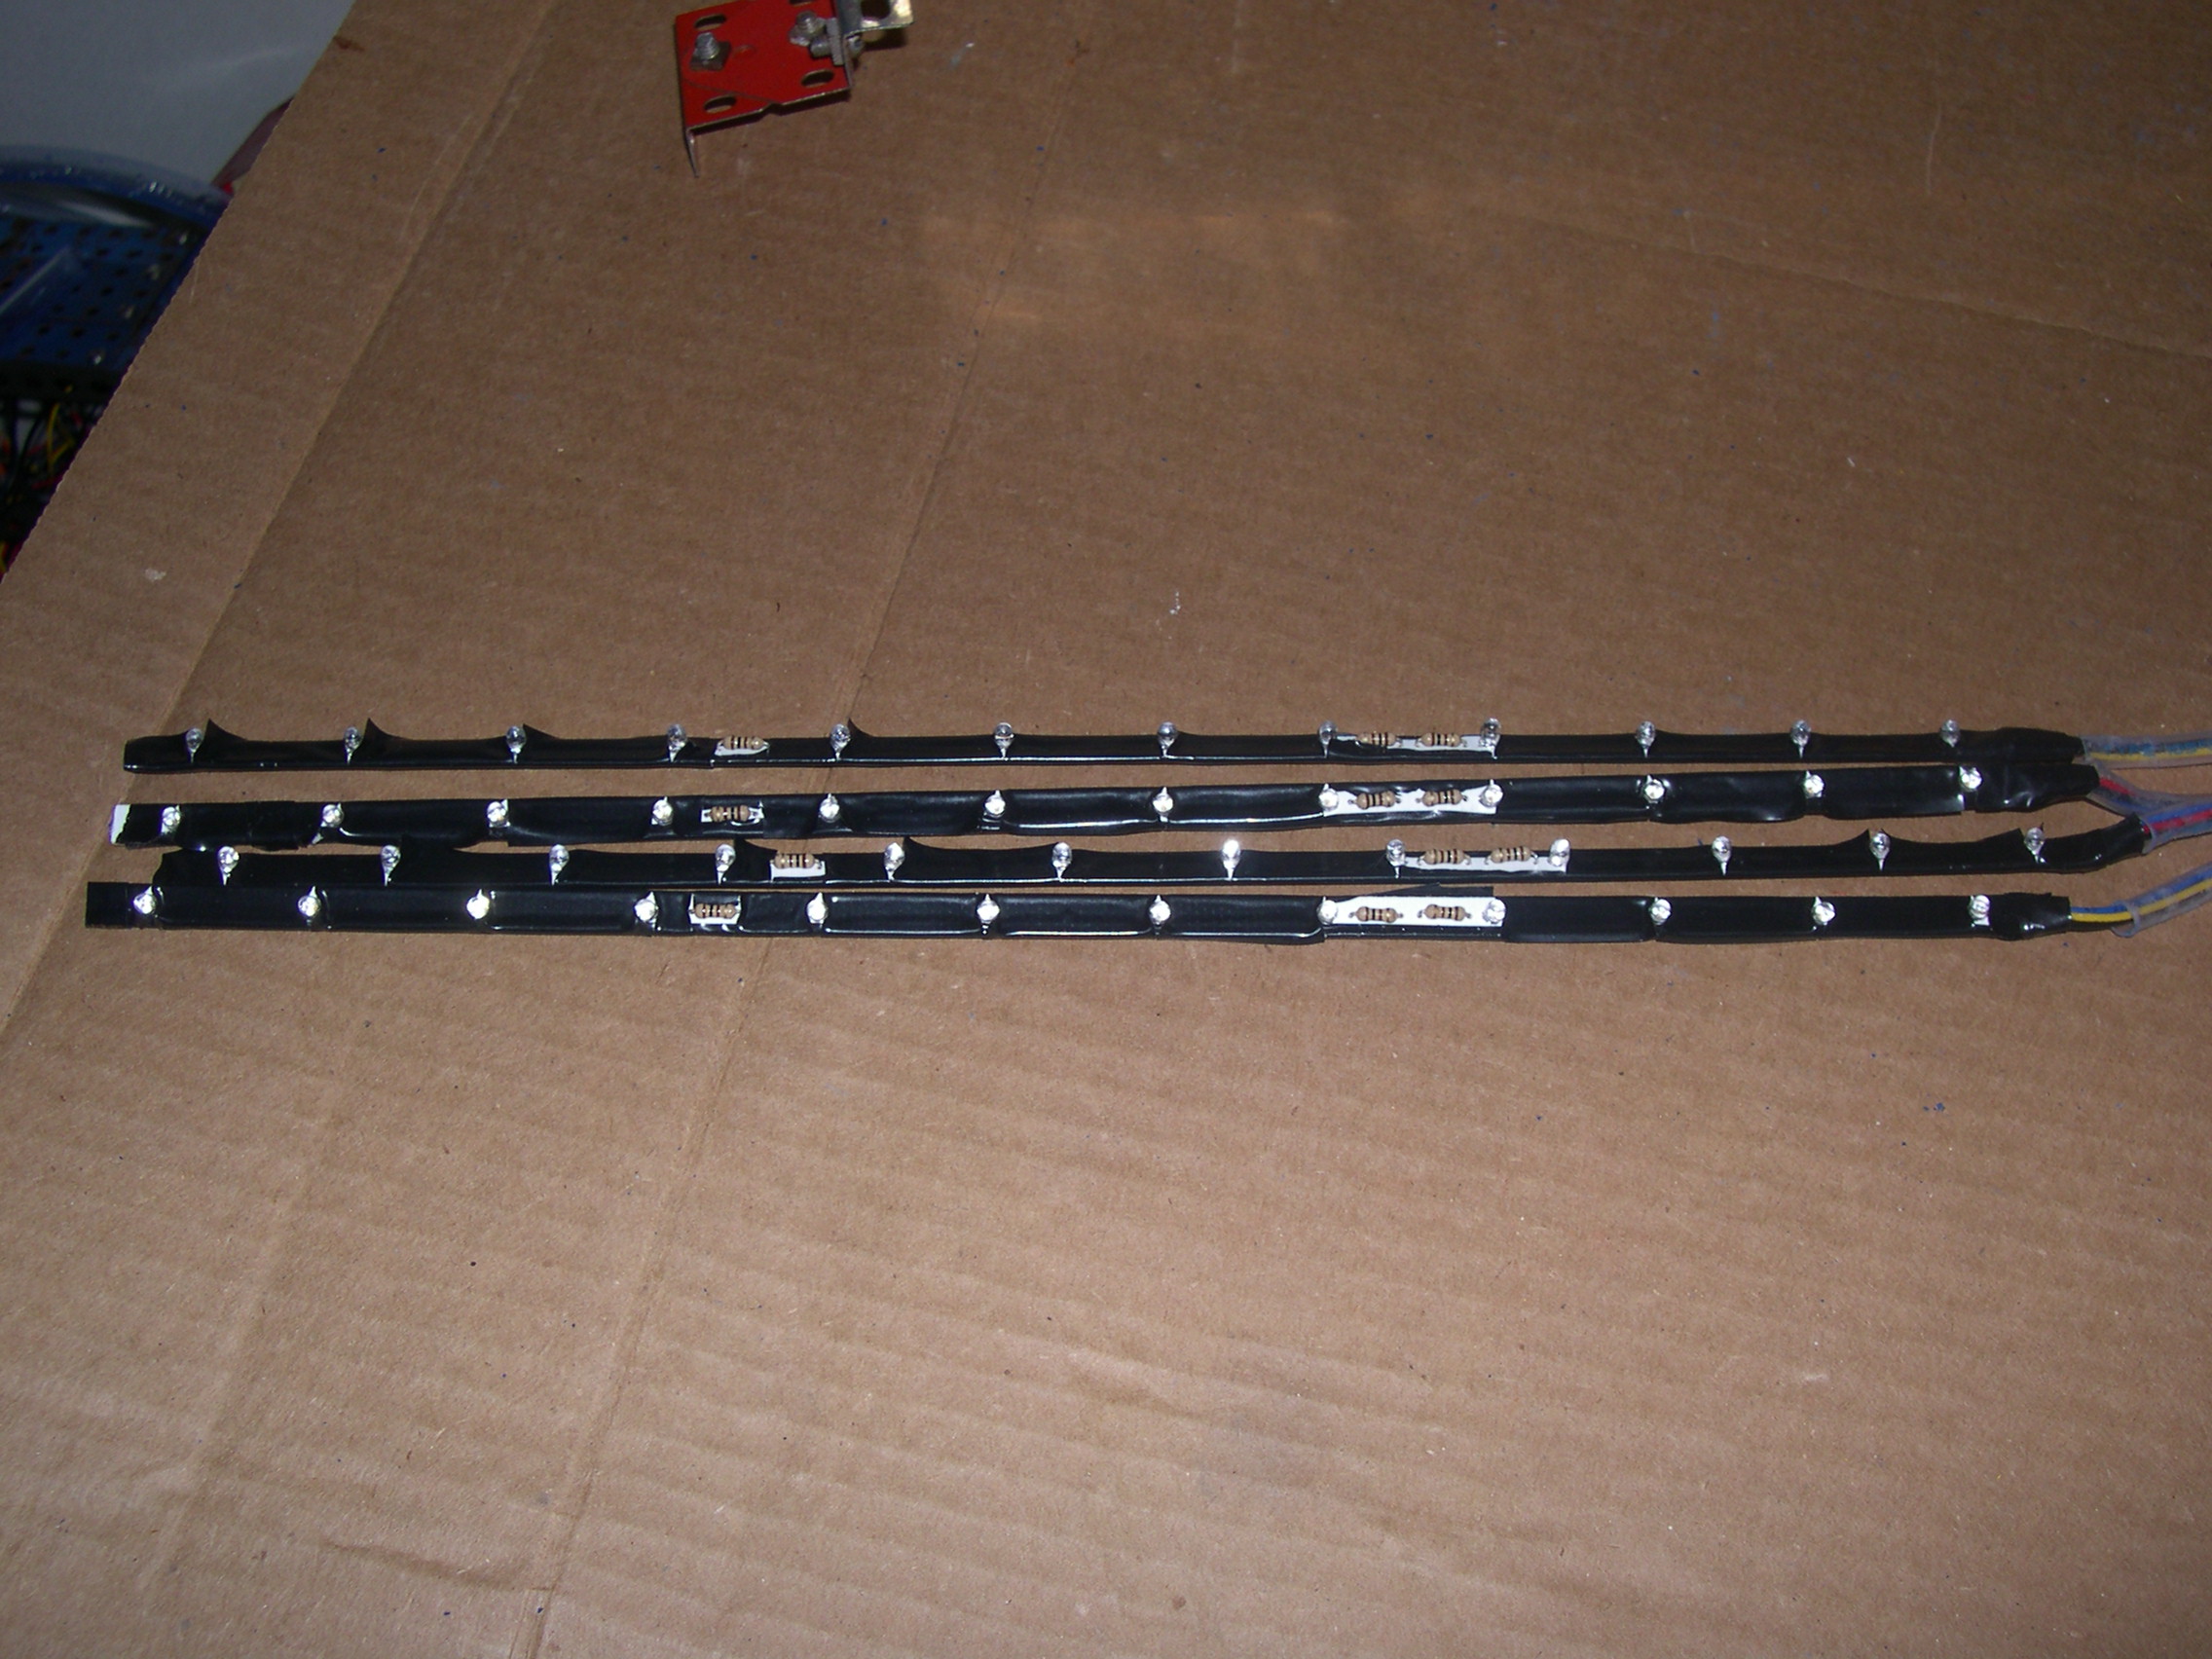
I re-worked the LED light strips. Taped up the end at the wires better (I didn't have any heatshrink the right size). And I noticed that the tape was peeling back from the resistors from the heat. So I removed the tape from those so they can breathe.

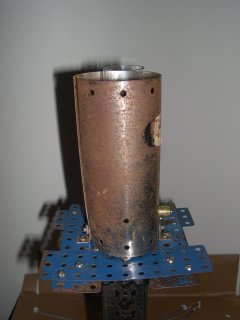
Dismantled the tower to get ready to install the reservoir.

Tower reassembled with the reservoir inside. As I was putting it back together, I realized I could not get to the screws for the last side. So, I let the zip-ties hold it in place. By adding zip-ties in the middle I was also able to reduce the gap on the sides, as well. I forgot to test the LED strips before getting this far. I hope they work!

Then I put the tank back in place and glued the reservoir extension in place. At this point I noticed that the tank was leaning to one side. Ah, since I left the screws out for that side, it leans. Look carefully and you can see a nut I put in as a shim. The tension holds it in place.
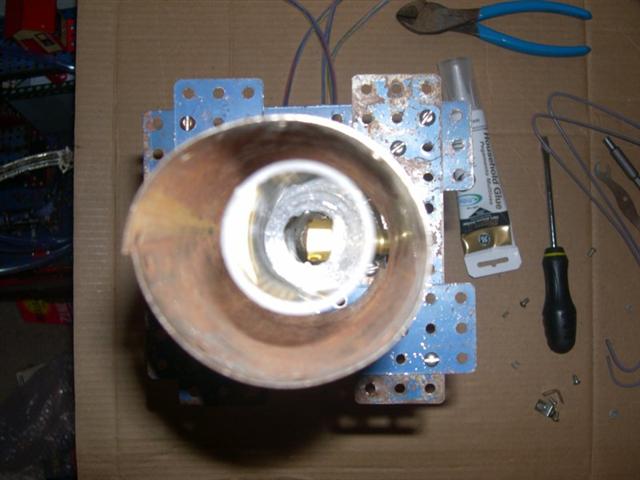
Looking down from the top, you can just make out the ledge created by the mounting plates connecting the two tube portions. The bright spot in the center is the brass nut on the back of the hose barb. The only time anything will flow through that portion will be when adding fluid. I still have to order the fill port for the top of the tube.

The Danger Den fill port is now installed, so the system is water-tight. It is designed to be panel mounted through a hole with a tube connecting the bottom with the reservoir. But here, I removed the tubing fitting and the collar used to fasten it to a panel, and just used silicone to put it directly into the top of the reservoir. It fits perfectly.
